So you’ve decided to start a blog. Whether your goal is to share recipes, post cat memes, or eventually build a full online business, the very first step is choosing reliable web hosting.
This is where Bluehost stands out. It’s beginner-friendly, affordable, and requires no technical skills. In this guide, I’ll walk you through exactly how to launch a blog on Bluehost in about 15 minutes—even if you’ve never built a website before.
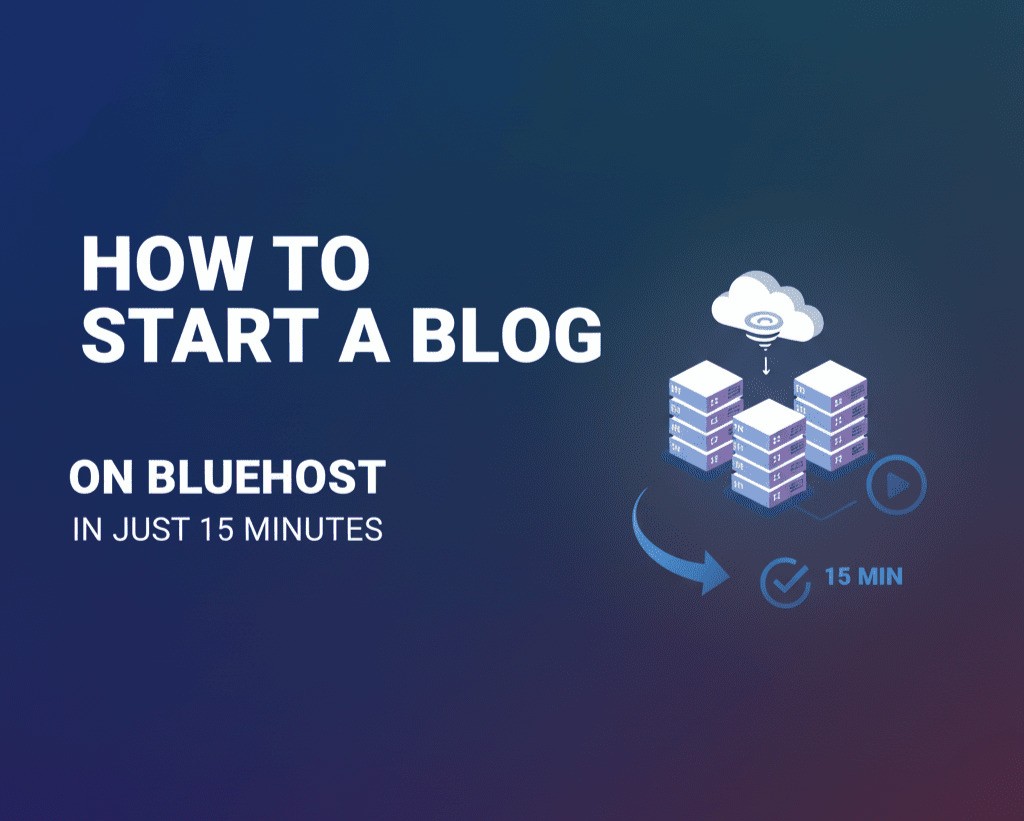
Start Your Blog on Bluehost Today
Bluehost includes everything a new blogger needs: a free domain for the first year, one-click WordPress installation, a simple dashboard, and 24/7 customer support. Introductory plans typically start around $3.99 per month, making it one of the most budget-friendly ways to get online.
Note: The low price is an introductory offer for your first term. Renewal rates are higher.
Why Bluehost Is Ideal for Beginners
I recommend Bluehost because it removes almost all of the technical confusion that stops people from starting. Hosting, domain registration, and WordPress setup all happen in one place, with clear instructions at every step.
Bluehost is officially recommended by WordPress, includes a free domain name, offers one-click WordPress installation, and provides live support 24/7. Most importantly, it’s designed for people who have never built a website before. If your priority is speed and simplicity, Bluehost is hard to beat.
Step 1: Choose Your Hosting Plan
Visit Bluehost and click Get Started. You’ll be asked to select a hosting plan. If you’re brand new to blogging, the Basic Plan is more than enough. Think of it as your first apartment: simple, affordable, and easy to upgrade later as your blog grows.
Once selected, click Get Started to continue.
Step 2: Pick Your Domain Name
Your domain is your blog’s web address, like yourblog.com. Keep it short, easy to remember, and simple to spell. Avoid numbers and unusual spellings. If your ideal name is taken, adding a word like “blog” or “studio” can help.
Bluehost includes a free domain for the first year, which saves you extra costs upfront.
For example, instead of something long and complicated like theblogaboutmythoughtsandideas.com, a cleaner option would be elliecreates.com.
Step 3: Create Your Bluehost Account
Next, enter your basic details such as your name, email address, and payment information.
At checkout, Bluehost will offer a few add-ons. The only optional feature worth keeping for most beginners is Domain Privacy, which protects your personal information. The rest can safely be unchecked.
Step 4: Install WordPress (One Click)
This is the step many beginners worry about, but Bluehost makes it incredibly simple.
After checkout, Bluehost will ask if you want to install WordPress. Click Yes, and that’s it. No coding, no files, no databases—just one click.
Step 5: Log In to WordPress
Your blog is now live.
To access your dashboard, visit:
yourdomain.com/wp-admin
Log in using the username and password you created. You’re officially a blogger.
Step 6: Choose a Theme
Your WordPress theme controls how your blog looks. You can change it anytime, so don’t stress about choosing the “perfect” one.
From your dashboard, go to Appearance → Themes, browse the free options, or upload a premium theme if you want a more polished design. When you find one you like, click Activate.
Step 7: Write Your First Blog Post
Now the fun part begins.
Go to Posts → Add New, enter a title, write your content, and add an image if you’d like. When you’re ready, click Publish.
Your first blog post is officially live.
Step 8: Set Up the Essentials
To get your blog off to a strong start, install a few essential plugins. Yoast SEO helps with Google rankings, WP Super Cache improves site speed, and Akismet protects against spam comments.
You should also create a few basic pages: an About page, a Contact page, and a Privacy Policy. These pages build trust and are important for search engines.
Step 9: Share Your Blog
Your blog is live—now it’s time to tell people about it. Share your posts on social media, let friends and family know, and start building your audience from day one.
Why Bluehost Beats Other Hosts for Beginners
Compared to many hosting providers, Bluehost offers a free domain, one-click WordPress installation, a beginner-friendly interface, 24/7 live support, and lower introductory pricing. Many other hosts charge extra for these features or make setup unnecessarily complicated.
Final Verdict
If you’re starting your very first blog, Bluehost is one of the simplest and safest choices available. It’s affordable, easy to use, and built specifically for beginners.
FAQ: Starting a Blog on Bluehost
How long does it take to set up a blog on Bluehost?
Most people can complete the process in about 15 minutes.
Do I need WordPress to blog on Bluehost?
Yes. WordPress is the easiest and most flexible blogging platform, and Bluehost installs it automatically.
Can beginners do this without technical skills?
Absolutely. Bluehost is designed for complete beginners.
Is the $3.99/month price permanent?
No. This is an introductory rate for the first billing term. Renewal prices are higher, which is standard across most hosting companies.
Final Thoughts
Starting a blog doesn’t have to feel overwhelming. With Bluehost, it’s a straightforward process you can complete with a cup of coffee  .
.
In about 15 minutes, you’ll have chosen hosting, registered a domain, installed WordPress, customized your site, and published your first post. That’s it—you’re officially a blogger.